Phone: (559) 272-4265
Appliance Repair Tips For Bakersfield, CA Residents

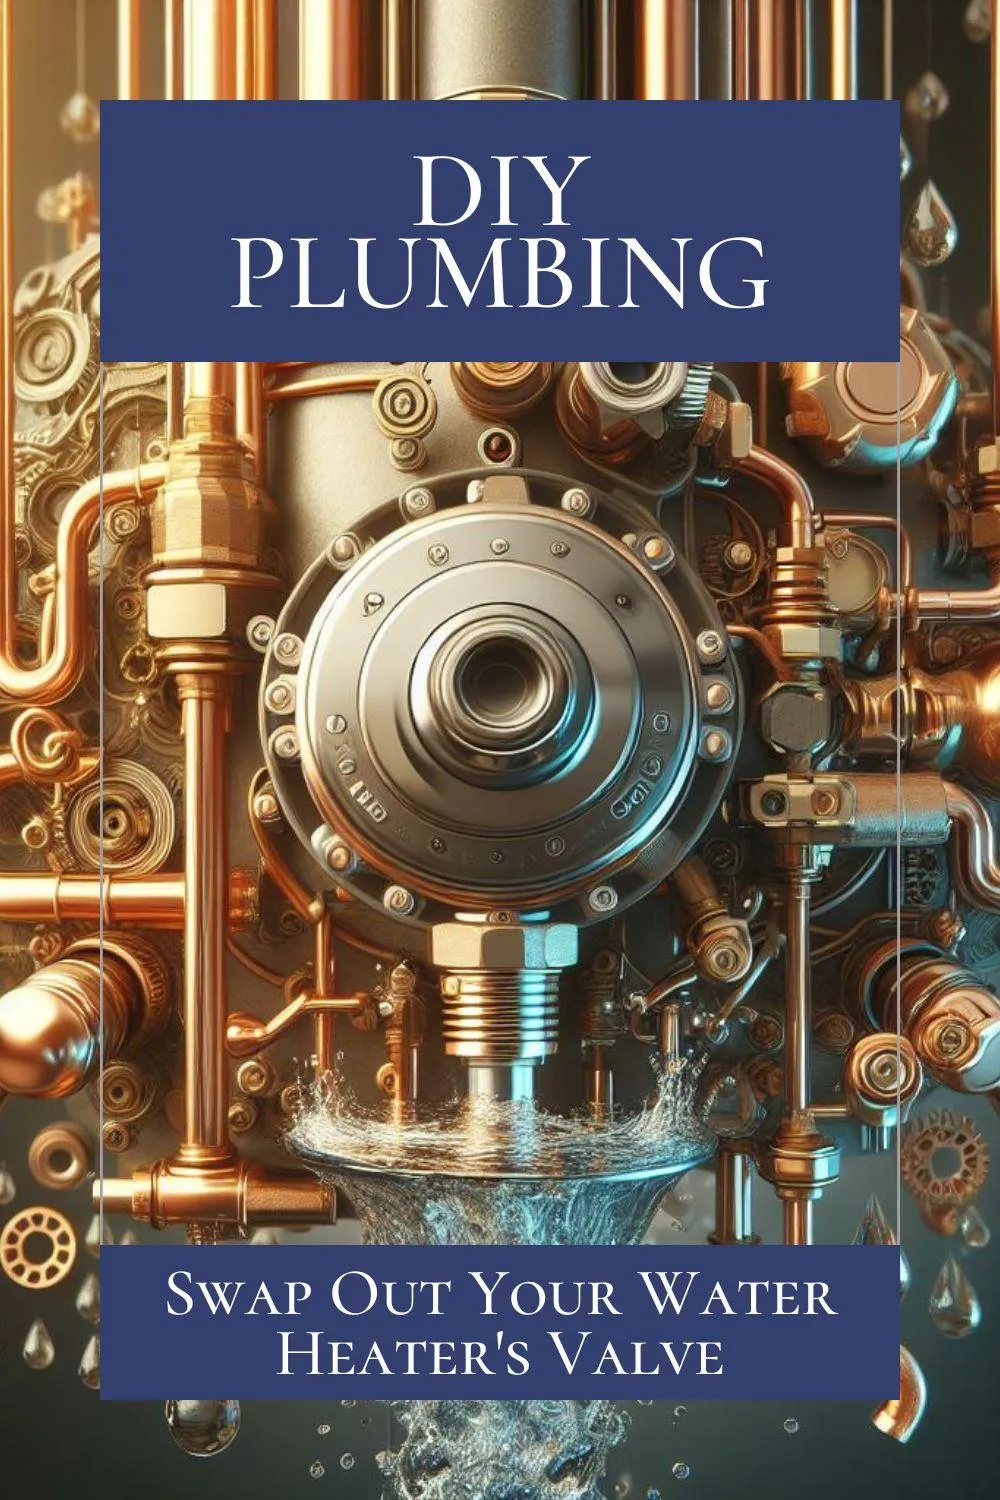
Fix It Fast: Replace Your Water Heater Relief Valve
“Fixing it fast isn't just about repairs, it's about restoring comfort and convenience.” - Appliance Boss
Introduction:
A faulty relief valve spells trouble for your water heater system, but quick replacement can save you from potential disasters. Your water heater's relief valve acts as a crucial safety feature, preventing excessive pressure buildup that could lead to catastrophic failure. Understanding the importance of this component and knowing when and how to replace it are essential for maintaining the safety and functionality of your water heater.

Understanding the Relief Valve
The relief valve serves as a crucial safety feature in your water heater setup. It's designed to release excess pressure to prevent the tank from exploding under extreme conditions. When the pressure inside the tank exceeds the safe limit, the relief valve opens, allowing water to escape. This prevents the tank from rupturing and causing significant damage to your home.
If the relief valve malfunctions or fails altogether, the consequences can be dire. Without proper pressure regulation, your water heater becomes a ticking time bomb, vulnerable to catastrophic failure. This underscores the importance of understanding the relief valve and promptly addressing any issues that arise.
Tools and Materials Needed
Before diving into the replacement process, gather the necessary tools and materials. You'll need a pipe wrench or adjustable wrench to loosen connections, as well as safety goggles and gloves to protect yourself from hot water and debris. Additionally, have thread seal tape on hand to ensure a secure fit for the new relief valve.
Preparation Steps
Preparation is key to a successful relief valve replacement. Start by shutting off the water supply to the heater to prevent any accidents or spills. Next, drain the water heater to relieve pressure and minimize the risk of scalding. Attach a garden hose to the drain valve at the base of the tank and direct the other end to a drain or outside area. Open the drain valve and allow the water to flow out until the tank is empty. Finally, double-check that safety measures are in place, such as turning off the power to the heater and wearing protective gear.
Removing the Old Relief Valve
To begin the replacement process, disconnect the pressure relief pipe from the old valve using a wrench. Then, carefully loosen and remove the old relief valve from its housing. Take care not to damage any surrounding components during this step.
Choosing the Replacement Valve
When selecting a replacement valve, consider factors such as the type of relief valve and compatibility with your water heater model. There are various types of relief valves available, including temperature and pressure relief valves (TPRs) and combination valves. Choose the right valve based on your specific needs and the requirements of your water heater system.
Installing the New Relief Valve
With the old valve removed, it's time to install the new relief valve. Begin by applying thread seal tape to the threads of the new valve to create a tight seal. Then, securely attach the new valve to the water heater housing, ensuring proper alignment and tightness. Finally, reconnect the pressure relief pipe to the new valve, using a wrench to tighten the connections.
Testing the Replacement
After installing the new relief valve, it's crucial to test its functionality to ensure everything is in working order. Turn the water supply back on and carefully monitor for any leaks around the valve and connections. Additionally, test the relief valve's functionality by manually activating it to release pressure.
Troubleshooting Common Issues
Despite your best efforts, issues may arise during or after the replacement process. Common issues include leaks around the valve or connections and the valve failing to function properly. If you encounter any problems, refer to troubleshooting guides or seek professional assistance if needed.
Safety Considerations
Throughout the replacement process, prioritize safety to prevent accidents and injuries. Wear safety goggles and gloves to protect yourself from hot water and sharp edges. Additionally, exercise caution when handling hot water heater components and follow proper safety protocols at all times.
Maintenance Tips to Prevent Future Issues
To prolong the life of your water heater and prevent future issues, incorporate regular maintenance into your routine. Perform periodic inspections of the relief valve to ensure it's in good working condition, and consider flushing the water heater periodically to remove sediment buildup.
Benefits of DIY Replacement
Opting for a DIY relief valve replacement offers several benefits, including cost-effectiveness compared to professional services and the satisfaction of handling home repairs independently. By taking the initiative to fix it yourself, you gain confidence in your abilities and save money in the process.
Conclusion
In conclusion, timely replacement of your water heater relief valve is crucial for maintaining a safe and functional system. By understanding the importance of the relief valve, following proper replacement procedures, and prioritizing safety, you can address issues promptly and ensure the continued operation of your water heater. Don't wait for disaster to strike—take action and fix it fast to safeguard your home and family.
About Zip Appliance and Plumbing Repair
At Zip Appliance and Plumbing Repair, we understand the importance of a fully functional plumbing system. Our expert technicians specialize in a wide range of services, including water heater repair and replacement, fixing leaking pipes, repairing shut off valves, addressing toilet issues, and replacing PVC pipes. With our commitment to quality workmanship and exceptional customer service, you can trust us to keep your plumbing systems running smoothly. Visit our website at www.ziprepairservice.com or give us a call at (661) 387-2282 to schedule an appointment in the Bakersfield, California area.

Fix It Fast: Replace Your Water Heater Relief Valve
“Fixing it fast isn't just about repairs, it's about restoring comfort and convenience.” - Appliance Boss
Introduction:
A faulty relief valve spells trouble for your water heater system, but quick replacement can save you from potential disasters. Your water heater's relief valve acts as a crucial safety feature, preventing excessive pressure buildup that could lead to catastrophic failure. Understanding the importance of this component and knowing when and how to replace it are essential for maintaining the safety and functionality of your water heater.

Understanding the Relief Valve
The relief valve serves as a crucial safety feature in your water heater setup. It's designed to release excess pressure to prevent the tank from exploding under extreme conditions. When the pressure inside the tank exceeds the safe limit, the relief valve opens, allowing water to escape. This prevents the tank from rupturing and causing significant damage to your home.
If the relief valve malfunctions or fails altogether, the consequences can be dire. Without proper pressure regulation, your water heater becomes a ticking time bomb, vulnerable to catastrophic failure. This underscores the importance of understanding the relief valve and promptly addressing any issues that arise.
Tools and Materials Needed
Before diving into the replacement process, gather the necessary tools and materials. You'll need a pipe wrench or adjustable wrench to loosen connections, as well as safety goggles and gloves to protect yourself from hot water and debris. Additionally, have thread seal tape on hand to ensure a secure fit for the new relief valve.
Preparation Steps
Preparation is key to a successful relief valve replacement. Start by shutting off the water supply to the heater to prevent any accidents or spills. Next, drain the water heater to relieve pressure and minimize the risk of scalding. Attach a garden hose to the drain valve at the base of the tank and direct the other end to a drain or outside area. Open the drain valve and allow the water to flow out until the tank is empty. Finally, double-check that safety measures are in place, such as turning off the power to the heater and wearing protective gear.
Removing the Old Relief Valve
To begin the replacement process, disconnect the pressure relief pipe from the old valve using a wrench. Then, carefully loosen and remove the old relief valve from its housing. Take care not to damage any surrounding components during this step.
Choosing the Replacement Valve
When selecting a replacement valve, consider factors such as the type of relief valve and compatibility with your water heater model. There are various types of relief valves available, including temperature and pressure relief valves (TPRs) and combination valves. Choose the right valve based on your specific needs and the requirements of your water heater system.
Installing the New Relief Valve
With the old valve removed, it's time to install the new relief valve. Begin by applying thread seal tape to the threads of the new valve to create a tight seal. Then, securely attach the new valve to the water heater housing, ensuring proper alignment and tightness. Finally, reconnect the pressure relief pipe to the new valve, using a wrench to tighten the connections.
Testing the Replacement
After installing the new relief valve, it's crucial to test its functionality to ensure everything is in working order. Turn the water supply back on and carefully monitor for any leaks around the valve and connections. Additionally, test the relief valve's functionality by manually activating it to release pressure.
Troubleshooting Common Issues
Despite your best efforts, issues may arise during or after the replacement process. Common issues include leaks around the valve or connections and the valve failing to function properly. If you encounter any problems, refer to troubleshooting guides or seek professional assistance if needed.
Safety Considerations
Throughout the replacement process, prioritize safety to prevent accidents and injuries. Wear safety goggles and gloves to protect yourself from hot water and sharp edges. Additionally, exercise caution when handling hot water heater components and follow proper safety protocols at all times.
Maintenance Tips to Prevent Future Issues
To prolong the life of your water heater and prevent future issues, incorporate regular maintenance into your routine. Perform periodic inspections of the relief valve to ensure it's in good working condition, and consider flushing the water heater periodically to remove sediment buildup.
Benefits of DIY Replacement
Opting for a DIY relief valve replacement offers several benefits, including cost-effectiveness compared to professional services and the satisfaction of handling home repairs independently. By taking the initiative to fix it yourself, you gain confidence in your abilities and save money in the process.
Conclusion
In conclusion, timely replacement of your water heater relief valve is crucial for maintaining a safe and functional system. By understanding the importance of the relief valve, following proper replacement procedures, and prioritizing safety, you can address issues promptly and ensure the continued operation of your water heater. Don't wait for disaster to strike—take action and fix it fast to safeguard your home and family.
About Zip Appliance and Plumbing Repair
At Zip Appliance and Plumbing Repair, we understand the importance of a fully functional plumbing system. Our expert technicians specialize in a wide range of services, including water heater repair and replacement, fixing leaking pipes, repairing shut off valves, addressing toilet issues, and replacing PVC pipes. With our commitment to quality workmanship and exceptional customer service, you can trust us to keep your plumbing systems running smoothly. Visit our website at www.ziprepairservice.com or give us a call at (661) 387-2282 to schedule an appointment in the Bakersfield, California area.
If your dryer has been giving you problems, contact Zip Appliance Repair & Service at (661) 387-2282

Appliance Repair In A Zip
If you need a dryer repair call our Team at (661) 387-2282, or visit our online scheduling page to request service.
Appliance Repair
Plumbing Repair Services
HAVE A QUESTION, CALL (661) 387-2282

Online Offers
Take advantage of our online discount offers - save time and money...

Residential & Commercial appliances
See what our company can do for you

Appliance Repair Tips
If your appliance is not working properly...

1405 Commercial Way ste 100
Bakersfield, CA 93309
Lic # 1116346
Equipment We Sevice
- A Call To Confirm Your Appointment Time
- A Email Detailing Your Assigned Technician
- Information Needed Before The Repair Can Be Started
- An Estimate Of Work To Be Done
© 2024 ZIP APPLIANCE REPAIR & SERVICE LLC


