Beginner's Guide to PEX Pipe Installation
“Embark on your plumbing journey with confidence, for in every twist and turn of PEX pipe installation lies the opportunity to master the flow of water and craft the home of your dreams.” - Appliance Boss
Introduction:
Welcome to Mastering PEX Pipe Installation
When embarking on any plumbing project, it's crucial to have a solid understanding of the materials and techniques involved. In this guide, we'll delve into the world of PEX pipe installation, covering everything from the basics to advanced techniques, ensuring you're equipped with the knowledge to tackle your project with confidence.
Understanding the Basics of Zip Appliance and Plumbing Repair PEX Pipe
PEX, or cross-linked polyethylene, is a flexible and durable piping material commonly used in residential plumbing applications. Its flexibility allows for easy installation around corners and obstacles, making it an attractive option for DIY enthusiasts and professionals alike. PEX pipes come in various sizes and colors, each suited to different applications within a plumbing system.

Importance of Proper Installation
Proper installation of PEX pipe is essential to ensure the longevity and efficiency of your plumbing system. Incorrect installation can lead to leaks, reduced water pressure, and even damage to your property. By following best practices and techniques, you can minimize the risk of issues down the line and enjoy a reliable plumbing system for years to come.
Getting Started with Zip Appliance and Plumbing Repair PEX Pipe
Tools and Equipment Needed
Before starting your PEX pipe installation, gather the necessary tools and equipment. This may include a PEX tubing cutter, crimping tool or clamp tool, PEX fittings, a measuring tape, and a marker. Having the right tools on hand will make the installation process smoother and more efficient.
Choosing the Right Type of Zip Appliance and Plumbing Repair PEX Pipe
There are three main types of PEX pipe: PEX-A, PEX-B, and PEX-C. Each type has its own advantages and disadvantages, so it's essential to choose the right one for your project. Consider factors such as cost, flexibility, and compatibility with fittings when making your selection.
Understanding Zip Appliance and Plumbing Repair PEX Fittings and Connections
PEX fittings are used to create connections between PEX pipes and other plumbing components, such as fixtures and valves. These fittings come in various shapes and sizes, including elbows, tees, and couplings, allowing for flexibility in your plumbing layout. Understanding how to properly use and install PEX fittings is crucial for a successful installation.
Preparing for Installation
Planning Your Piping Layout
Before diving into the installation process, take the time to plan out your piping layout. Consider factors such as the location of fixtures, the flow of water, and any obstacles or obstructions in the space. A well-thought-out layout will make the installation process more efficient and help prevent issues later on.
Measuring and Cutting Zip Appliance and Plumbing Repair PEX Pipe
Accurate measurements are key to a successful PEX pipe installation. Use a measuring tape to determine the lengths of pipe needed for each section of your plumbing system, taking into account any bends or turns. Once measured, use a PEX tubing cutter to make clean, straight cuts on the pipe.
Preparing the Work Area
Before beginning installation, ensure that the work area is clean, dry, and free of debris. This will help prevent contamination of the piping system and ensure a secure connection between pipes and fittings. Clear any clutter and lay out your tools and materials for easy access during the installation process.
Installation Techniques
Crimping vs. Clamp: Which Method to Choose?
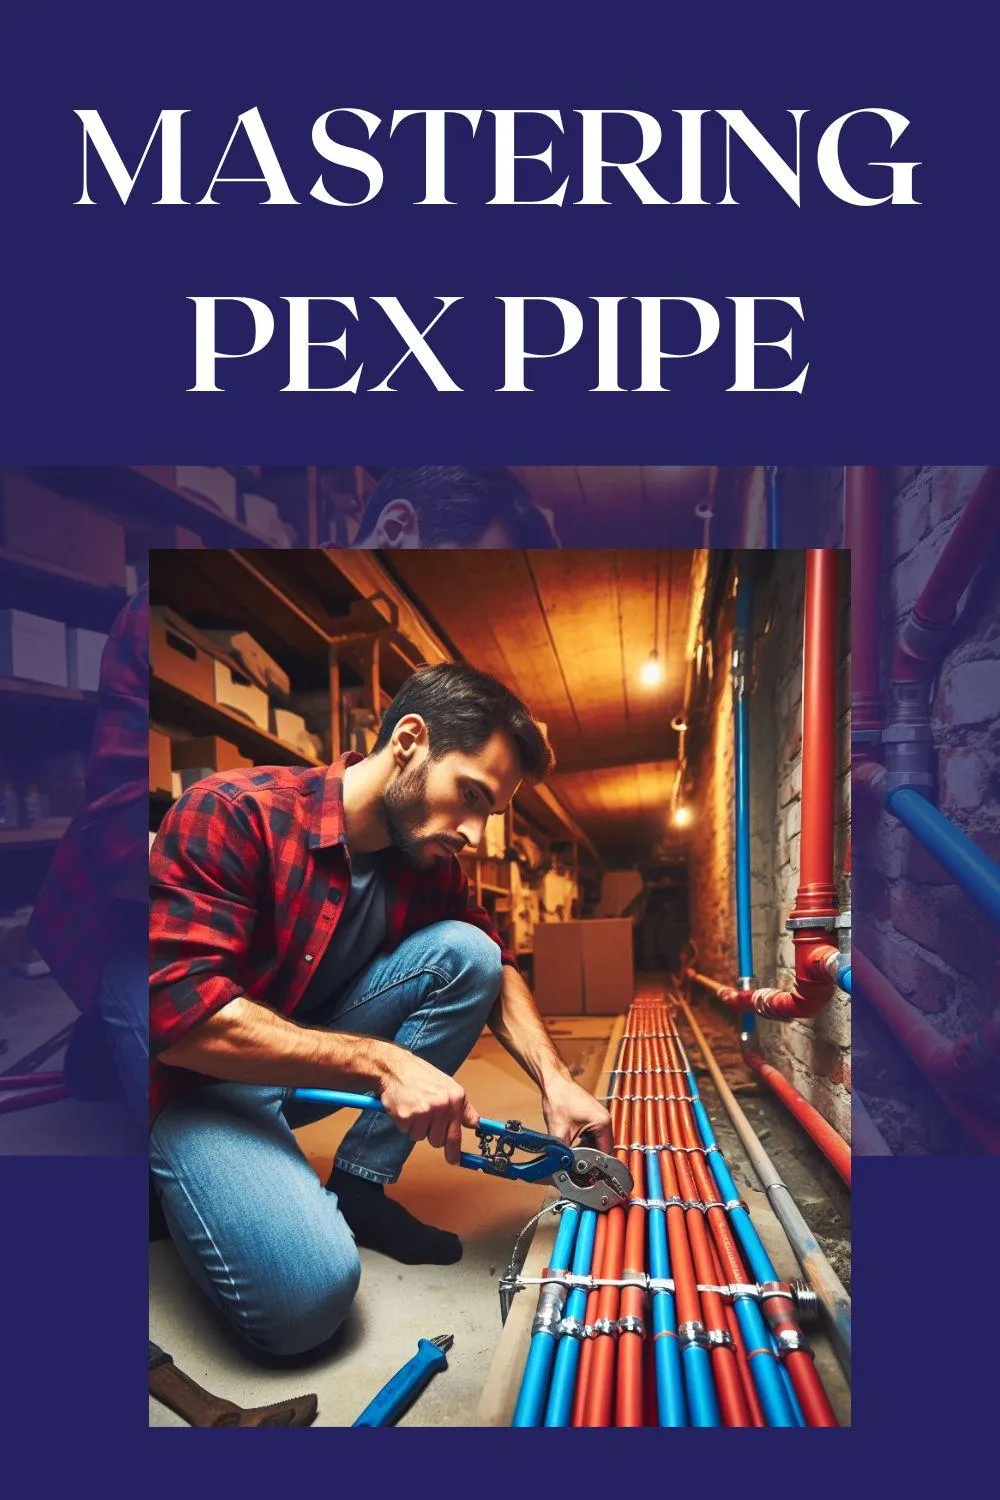
When it comes to securing PEX fittings to pipes, there are two main methods: crimping and clamping. Crimping involves using a special tool to compress a metal ring around the fitting and pipe, creating a secure connection. Clamping, on the other hand, uses a stainless steel clamp to achieve the same result. Both methods are effective, so choose the one that best suits your preferences and needs.
Step-by-Step Guide to Crimping Zip Appliance and Plumbing Repair PEX Fittings
If you've opted for the crimping method, follow these steps to ensure a proper connection. First, slide the crimp ring onto the pipe, followed by the fitting. Use a crimping tool to position the crimp ring over the fitting and pipe, then compress the ring until it forms a tight seal. Repeat this process for each connection in your plumbing system, taking care to ensure proper alignment and positioning of fittings.
Mastering the Clamp Ring Technique
For those using the clamp ring method, mastering the technique is essential for a successful installation. Begin by sliding the clamp ring onto the pipe, followed by the fitting. Use a clamp tool to position the clamp ring over the fitting and pipe, then tighten the clamp until it forms a secure seal. Be sure to check for proper alignment and positioning of fittings to prevent leaks.
Common Mistakes to Avoid
Over or Under Crimping
One common mistake in PEX pipe installation is over or under crimping fittings. Over crimping can deform the pipe and fitting, leading to leaks, while under crimping can result in a loose connection. Take care to apply the correct amount of pressure when crimping fittings to ensure a secure and leak-free connection.
Improper Pipe Support
Another common mistake is improper support of PEX pipes. Without adequate support, pipes may sag or bend, leading to issues with water flow and pressure. Use pipe hangers or straps to secure PEX pipes to structural elements such as joists or studs, ensuring they remain properly supported throughout the installation.
Mixing PEX with Other Pipe Materials
It's important to avoid mixing PEX with other pipe materials, such as copper or galvanized steel, within the same plumbing system. Different materials expand and contract at different rates, which can lead to leaks or damage at connection points. Stick to using PEX exclusively or consult with a plumbing professional if transitioning between materials is necessary.
Ensuring Leak-Free Connections
Tips for Properly Seating Zip Appliance and Plumbing Repair PEX Fittings
Properly seating PEX fittings is essential for achieving leak-free connections. Ensure that fittings are fully inserted into the pipe until they reach the shoulder of the fitting. This ensures a secure seal and prevents leaks at connection points. Use a depth gauge or marking tool to confirm proper insertion depth before crimping or clamping fittings in place.
Testing for Leaks Before Concealing Pipes
Before concealing PEX pipes behind walls or ceilings, it's essential to test for leaks to ensure the integrity of your plumbing system. Use a pressure test kit to pressurize the system and check for any drops in pressure, indicating a leak. Address any leaks before proceeding with further installation or concealing pipes to prevent future issues.
Troubleshooting Common Leak Issues
If you encounter leaks during or after installation, don't panic – there are steps you can take to troubleshoot and resolve the issue. Begin by identifying the source of the leak and assessing the severity. Minor leaks may be addressed by tightening or re-crimping fittings, while more significant leaks may require replacing damaged components. Consult with a plumbing professional if you're unsure how to proceed or if leaks persist despite your efforts.
Insulating PEX Pipes
Importance of Insulation
Insulating PEX pipes is essential, particularly in cold climates, to prevent freezing and protect against heat loss. Insulation helps maintain consistent water temperatures and reduces the risk of burst pipes during freezing temperatures. Proper insulation can also improve energy efficiency and reduce heating costs associated with hot water delivery.
Best Practices for Insulating Zip Appliance and Plumbing Repair PEX Pipes
When insulating PEX pipes, choose insulation materials that are suitable for your climate and application. Foam pipe insulation sleeves or wraps are commonly used to provide a protective barrier against temperature fluctuations. Ensure that insulation is properly installed and secured around pipes, paying special attention to areas prone to cold drafts or exposure.
Protecting PEX Pipes from Freezing
In addition to insulation, there are several measures you can take to protect PEX pipes from freezing temperatures. Insulate pipes located in unheated or exposed areas, such as attics, crawl spaces, or exterior walls. Seal any gaps or openings that allow cold air to penetrate and insulate outdoor spigots or fixtures to prevent freezing. Consider installing heat tape or trace heating cables for added protection in extreme cold climates.
Maintenance and Longevity
Regular Inspections and Maintenance Checks
Once your PEX pipe installation is complete, it's essential to conduct regular inspections and maintenance checks to ensure the continued performance of your plumbing system. Look for signs of leaks, corrosion, or damage, and address any issues promptly to prevent further damage or costly repairs. Schedule routine maintenance checks with a plumbing professional to keep your system in top condition.
Signs of PEX Pipe Wear and Tear
Be on the lookout for signs of wear and tear on your PEX pipes, such as bulging, cracking, or discoloration. These may indicate underlying issues such as water pressure problems, chemical corrosion, or physical damage. Address any signs of wear and tear promptly to prevent leaks or failures that could lead to water damage or property loss.
Extending the Lifespan of Zip Appliance and Plumbing Repair Your PEX Plumbing System
With proper installation and maintenance, your PEX plumbing system can provide reliable performance for many years to come. Take steps to protect your pipes from damage, such as avoiding exposure to extreme temperatures, maintaining proper water pressure, and avoiding chemical exposure. By investing in the longevity of your plumbing system, you can enjoy peace of mind knowing that your home's water supply is safe and secure.
Conclusion
Recap of Key Tips for Mastering PEX Pipe Installation
Mastering PEX pipe installation requires a combination of knowledge, skill, and attention to detail. By understanding the basics of PEX pipe, choosing the right materials and techniques, and avoiding common pitfalls, you can achieve professional-quality results in your plumbing projects. Embrace the ease and versatility of PEX pipe installation, and enjoy the satisfaction of a job well done. With these key tips in mind, you're ready to tackle your next plumbing project with confidence!
About Zip Appliance and Plumbing Repair
At Zip Appliance and Plumbing Repair (visit us at www.ziprepairservice.com), we specialize in providing top-notch plumbing services to residents and businesses in Bakersfield, California, and the surrounding areas. Our experienced technicians are trained to handle a wide range of plumbing issues, from water heater repairs to leaking pipes, shut off valves, toilet installations, and replacing PVC pipes. We take pride in delivering reliable solutions and exceptional customer service, ensuring that your plumbing needs are met with efficiency and professionalism. Contact us today at (661) 387-2282 to schedule an appointment or learn more about our services.