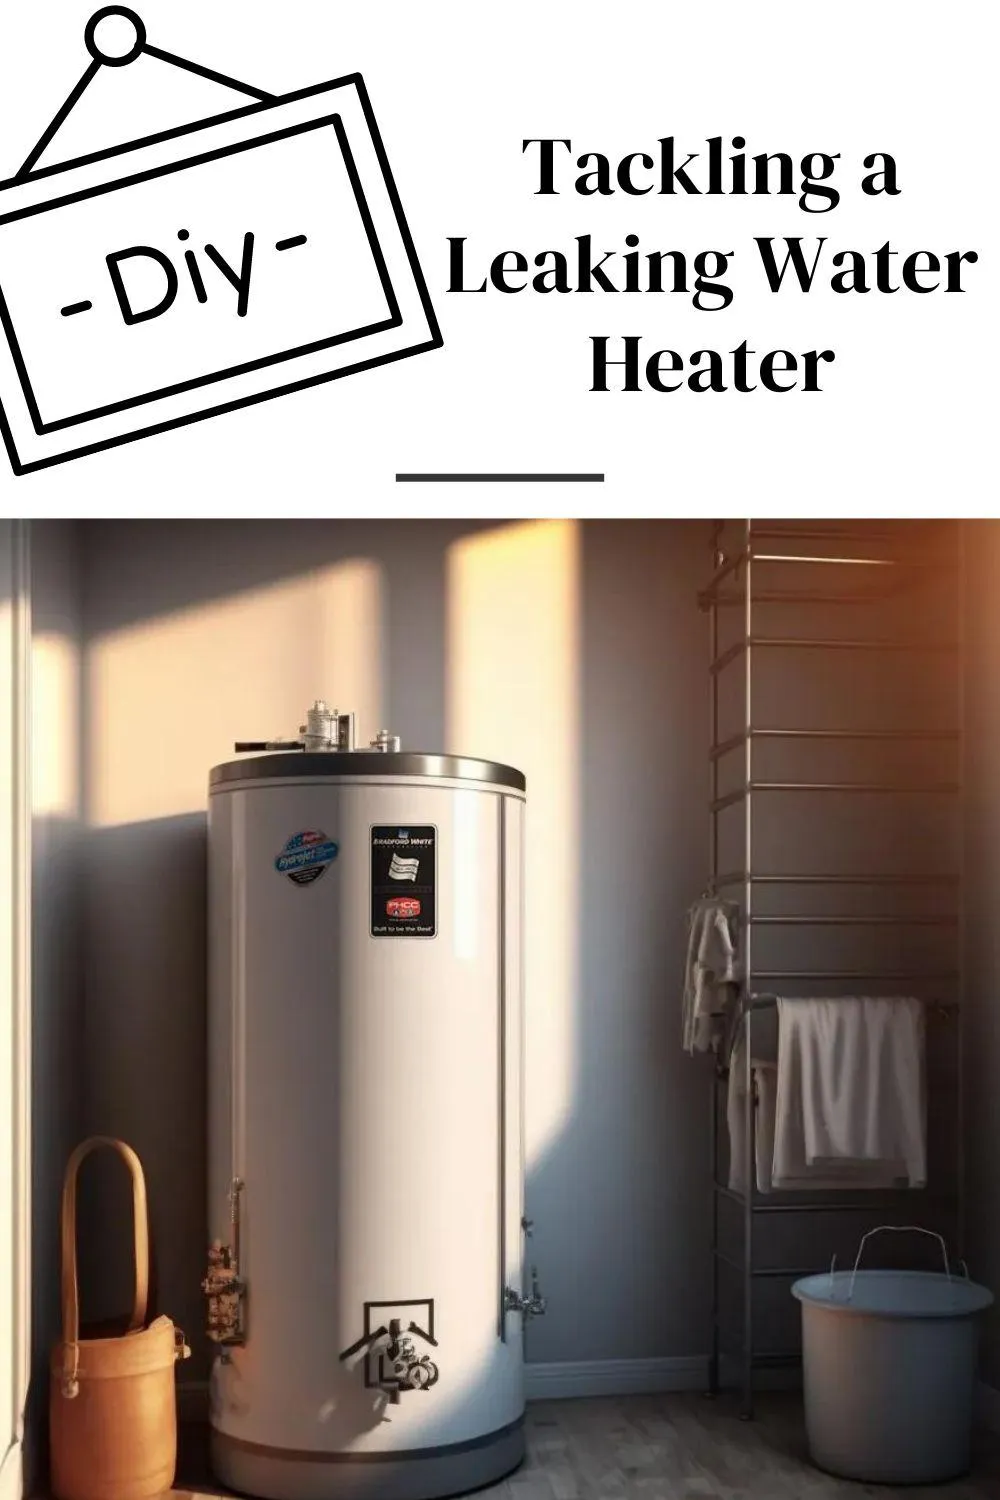
DIY Fix: Tackling a Leaking Water Heater
DIY Fix: Tackling a Leaking Water Heater
Introduction:
Welcome to our comprehensive guide on fixing a leaking water heater. In this article, we'll walk you through the essential steps to address leaks promptly and effectively, ensuring the safety and longevity of your water heater.
Understanding the Importance of Addressing Leaks Promptly
Leaking water heaters can lead to significant damage, including water damage to surrounding structures, mold growth, and potential electrical hazards. Addressing leaks promptly is crucial to prevent costly repairs and ensure the continued functionality of your water heater.

Understanding Your Water Heater
Overview of Different Types of Water Heaters
Water heaters come in various types, including traditional tank heaters and tankless models. Each type has its unique features and maintenance requirements. Understanding the differences between them will help you troubleshoot and address leaks more effectively.
Identifying the Components of a Water Heater
To effectively troubleshoot and repair a leaking water heater, it's essential to understand its various components. From the heating element to the pressure relief valve, knowing how each part functions will aid in diagnosing and fixing leaks.
Knowing the Common Causes of Leaks in Water Heaters
Leaks in water heaters can be caused by a variety of factors, including corrosion, loose connections, and faulty valves. By familiarizing yourself with the common causes of leaks, you'll be better equipped to identify and address them promptly.
Assessment and Safety Precautions
Conducting a Visual Inspection of the Water Heater
Before attempting any repairs, start by visually inspecting your water heater for signs of leaks or damage. Look for water pooling around the base of the unit, rust or corrosion on the tank, and any visible signs of water damage to surrounding structures.
Checking for Signs of Water Damage Around the Unit
In addition to inspecting the water heater itself, check for signs of water damage in the surrounding area. Look for water stains on walls or ceilings, warped or discolored flooring, and any other indicators of water leakage.
Turning Off the Power and Water Supply to the Heater
Before beginning any repair work, it's crucial to shut off the power and water supply to the water heater. This will prevent electrical hazards and further water damage while you work on fixing the leak.
Ensuring Safety Gear and Tools are On Hand Before Starting the Repair
Make sure you have the necessary safety gear, such as gloves and goggles, to protect yourself from potential hazards. Additionally, gather the tools and materials you'll need for the repair, including wrenches, Teflon tape, and sealant.
Pinpointing the Location of the Leak
Once you've visually inspected the water heater, pinpoint the location of the leak. Leaks can occur at the top, bottom, or sides of the unit, each indicating different potential issues.
Understanding the Potential Reasons for Leaks in Different Areas
Depending on where the leak is located, there may be various potential causes, such as corroded fittings, damaged valves, or a cracked tank. Understanding these potential reasons will help you determine the best course of action for repairs.
Performing Simple Tests to Confirm the Source of the Leak
To confirm the source of the leak, perform simple tests such as drying the area with a towel and observing where moisture reappears, or using a flashlight to inspect hard-to-reach areas for signs of leakage.
DIY Repair Techniques
Repairing Leaks at the Connections and Fittings
Tightening Loose Connections
One common cause of leaks in water heaters is loose connections at the inlet and outlet pipes. Use a wrench to tighten any loose fittings, being careful not to overtighten and risk damaging the connections.
Applying Teflon Tape or Pipe Dope to Threaded Connections
If tightening the connections doesn't stop the leak, try applying Teflon tape or pipe dope to the threaded connections. This will create a tight seal and prevent water from leaking out.
Patching Small Leaks in the Tank
Using Epoxy Putty or Silicone Sealant
If you discover a small leak in the tank itself, you can temporarily patch it using epoxy putty or silicone sealant. Clean and dry the area around the leak, then apply the putty or sealant according to the manufacturer's instructions.
Replacing Faulty Temperature and Pressure Relief Valve (TPR Valve)
Step-by-Step Guide to TPR Valve Replacement
If the leak is coming from the TPR valve, it may need to be replaced. Begin by turning off the power and water supply to the water heater, then drain the tank to relieve pressure. Remove the old TPR valve and install the new one, ensuring it is properly seated and sealed.
Fixing Leaks in the Drain Valve
Flushing Out Debris and Replacing the Valve if Necessary
If the leak is coming from the drain valve, it may be due to debris buildup or a faulty valve. Start by flushing out any debris from the valve using a garden hose. If the leak persists, you may need to replace the valve entirely.
Replacement Options
Assessing the Severity of the Leak to Determine if Replacement is Necessary
If the leak is severe or if the water heater is old and nearing the end of its lifespan, replacement may be the best option. Consider factors such as the age of the unit, the extent of the damage, and your budget when making this decision.
Exploring Options for DIY Replacement vs. Professional Intervention
Depending on your level of expertise and comfort with DIY projects, you may choose to replace the water heater yourself or hire a professional plumber. Consider factors such as the complexity of the installation, local building codes, and safety considerations when making this decision.
Understanding the Steps Involved in Replacing a Water Heater
If you decide to replace the water heater yourself, familiarize yourself with the steps involved in the installation process. This may include draining the old tank, disconnecting utilities, removing the old unit, and installing the new one according to manufacturer instructions.
Preventative Maintenance Tips
Regular Inspection and Maintenance Routines to Prevent Leaks
To prevent leaks and extend the lifespan of your water heater, incorporate regular inspection and maintenance routines into your household maintenance schedule. This may include visually inspecting the unit for signs of damage, checking for rust or corrosion, and testing the pressure relief valve periodically.
Draining and Flushing the Water Heater to Remove Sediment Buildup
Over time, sediment can accumulate in the bottom of the water heater tank, leading to corrosion and leaks. To prevent this buildup, drain and flush the tank annually to remove sediment and maintain optimal performance.
Checking and Replacing Sacrificial Anode Rods as Needed
Sacrificial anode rods are designed to attract corrosive elements in the water, protecting the tank from rust and corrosion. Check the condition of the anode rod annually and replace it if it shows signs of significant corrosion or wear.
Monitoring Water Pressure to Prevent Excessive Stress on the Unit
High water pressure can put excessive stress on the water heater, leading to leaks and other issues. Install a pressure gauge on your water line and monitor the pressure regularly, adjusting it as needed to maintain optimal levels.
Emergency Response Plan
Steps to Take if You Encounter a Major Leak or Flooding
In the event of a major leak or flooding from your water heater, it's essential to act quickly to minimize damage and ensure safety. Turn off the water supply and power to the heater immediately, then assess the extent of the damage and take steps to mitigate further issues.
Shutting Off the Water Supply and Power in Case of Emergencies
Knowing how to shut off the water supply and power to your water heater in an emergency is crucial for preventing further damage and ensuring safety. Locate the shut-off valves for both the water supply and power source and familiarize yourself with their operation.
Contacting Professional Plumbers for Immediate Assistance
If you encounter a major leak or flooding from your water heater that you are unable to address on your own, don't hesitate to contact professional plumbers for immediate assistance. They have the expertise and equipment to quickly assess and address the issue, minimizing damage and restoring functionality to your water heater.
Final Thoughts
Recap of Key Points Covered in the Guide
In this guide, we've covered essential steps for fixing a leaking water heater, including identifying the source of the leak, performing DIY repair techniques, exploring replacement options, and implementing preventative maintenance tips. By following these guidelines, you can address leaks promptly and effectively, ensuring the safety and longevity of your water heater.
Encouragement to Take Proactive Measures in Addressing Water Heater Leaks
Don't wait until a minor leak becomes a major issue. Take proactive measures to address water heater leaks promptly, preventing costly repairs and ensuring the continued functionality of your water heater. By incorporating regular inspection and maintenance routines into your household maintenance schedule, you can catch leaks early and address them before they escalate.
Resources for Further Assistance or Professional Help if Needed
If you encounter any issues beyond your expertise or need further assistance, don't hesitate to seek professional help. Contact local plumbers or water heater experts for guidance and support in addressing water heater leaks and other plumbing issues. Remember, it's better to be safe than sorry when it comes to the safety and functionality of your water heater.
Call To Action
If you encounter any issues beyond your expertise or need further assistance, don't hesitate to contact Zip Appliance Repair and Service. Visit our website at www.ziprepairservice.com or call us at (661) 387-2282 for professional assistance with your water heater or any other appliance repair needs. Remember, prompt action can save you time and money in the long run.