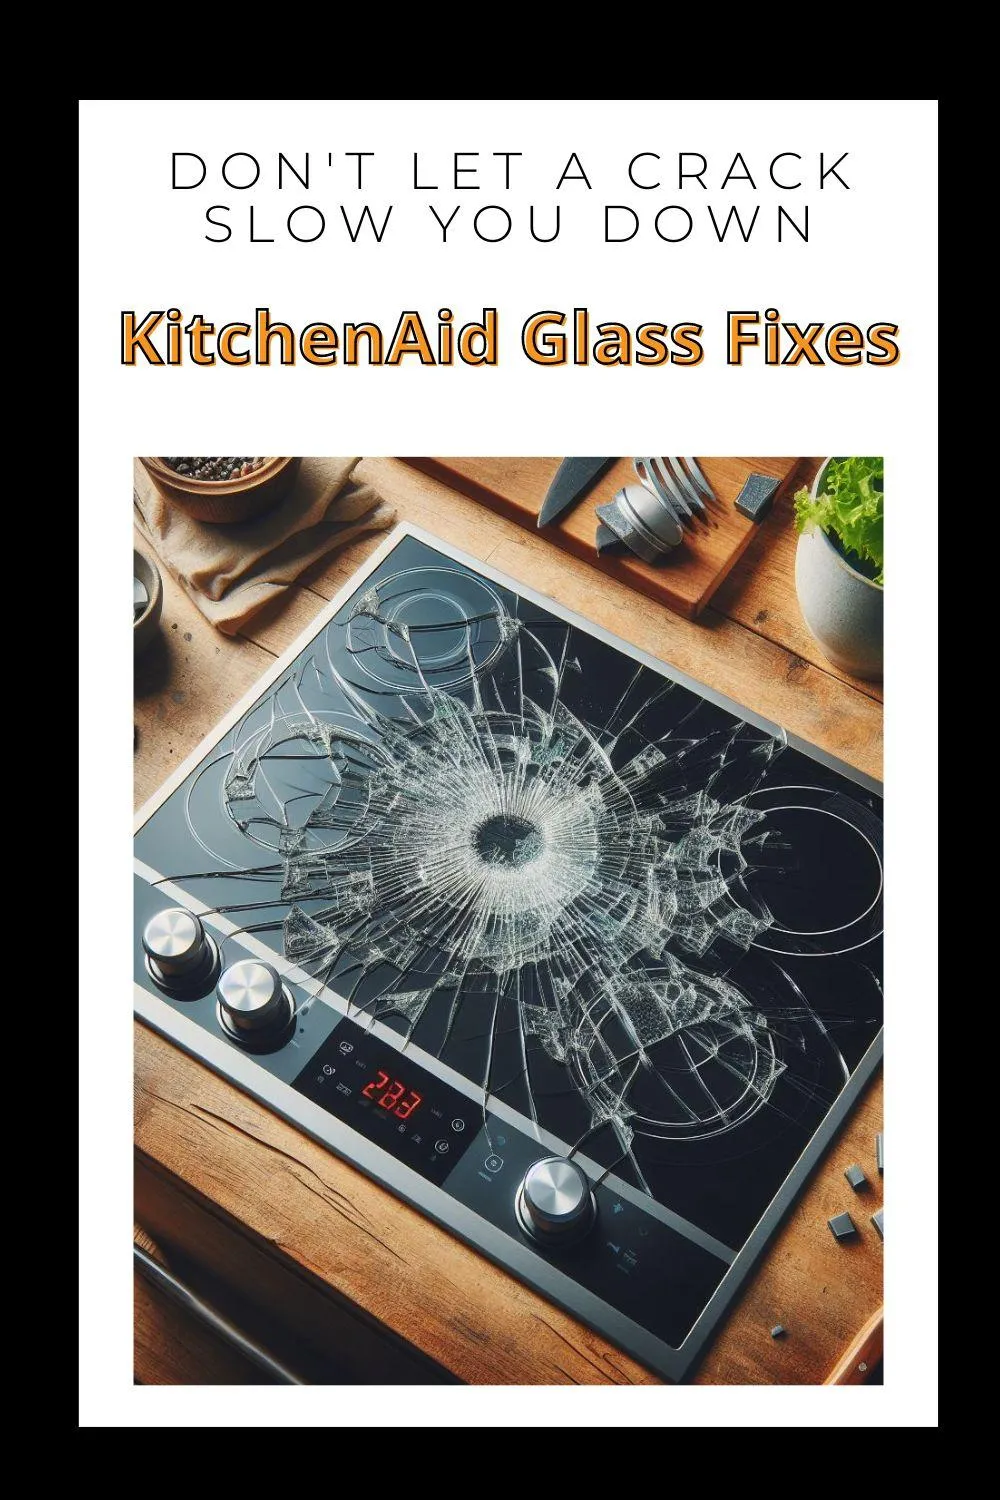
Say Goodbye to Kitchen Disasters: Fix Cracked KitchenAid Glass
“Turning kitchen chaos into culinary bliss, one crack at a time. Say goodbye to kitchen disasters and hello to a seamless cooking experience.” - Appliance Boss
Introduction:
In the heart of every home lies the bustling hub of culinary creativity - the kitchen. Yet, amidst the sizzle of pans and the aromatic dance of spices, mishaps can strike, leaving our culinary sanctuary in disarray. Today, we embark on a journey to bid farewell to kitchen disasters, focusing our attention on a common issue - cracked KitchenAid glass. Let's delve into the importance of addressing this problem, understand its intricacies, and explore effective solutions to restore our kitchen to its former glory.
Common Kitchen Mishaps
Within the dynamic realm of the kitchen, mishaps lurk around every corner. From accidental spills to unexpected breakages, these occurrences can disrupt the rhythm of our culinary endeavors. Among the most distressing is the sight of cracked glass on our KitchenAid cooktops, signaling potential danger and inconvenience.

Importance of Addressing Cracked KitchenAid Glass
While a cracked KitchenAid glass may seem like a minor inconvenience, its implications extend beyond mere aesthetics. Ignoring the issue can lead to further damage, compromising the functionality and safety of our cooking space. Therefore, it is crucial to confront this problem head-on and seek appropriate solutions to rectify it.
Understanding the Problem
Identifying Cracked Glass: Signs and Symptoms
Before we can embark on the journey of repair, it is essential to recognize the telltale signs of cracked glass on our KitchenAid cooktops. These may include visible fractures, chipped edges, or even a subtle shift in the surface texture. By honing our observation skills, we can promptly address the issue before it escalates.
Causes of Cracked KitchenAid Glass: Exploring Common Culprits
To effectively combat cracked KitchenAid glass, we must first understand its origins. Common culprits include sudden temperature fluctuations, impact from heavy objects, or inherent weaknesses in the glass structure. By pinpointing the root cause, we can implement preventive measures to safeguard against future damage.
Potential Hazards: Risks Associated with Cracked Glass
Beyond the realm of aesthetics, cracked KitchenAid glass poses significant risks to both users and surrounding surfaces. From electrical hazards to the spread of shards, the consequences of neglecting this issue can be dire. Thus, prioritizing timely repair is paramount to ensuring the safety of our kitchen environment.
Assessing the Damage
Examination Techniques: Inspecting Your KitchenAid Glass Cooktop
Before embarking on the repair process, a thorough examination of the damaged glass is imperative. By assessing the extent of the cracks and identifying any underlying issues, we can tailor our repair approach accordingly. This meticulous scrutiny lays the foundation for effective restoration.
Severity Levels: Determining the Extent of the Damage
Not all cracks are created equal, and their severity can vary significantly. From superficial scratches to deep fissures, each requires a nuanced approach to repair. By categorizing the damage based on its intensity, we can devise targeted solutions that address the specific needs of our KitchenAid glass cooktop.
Consulting Professionals: When to Seek Expert Help
While DIY solutions are often sufficient for minor repairs, complex issues may necessitate professional intervention. Consulting experienced technicians ensures thorough assessment and precise execution, minimizing the risk of further damage. Knowing when to enlist expert assistance is key to achieving optimal results.
Tools and Materials
Essential Tools: Gathering Supplies for Glass Repair
Embarking on a repair journey requires the right tools at our disposal. From precision instruments to safety gear, each item plays a crucial role in the restoration process. By assembling a comprehensive toolkit, we equip ourselves for success in tackling cracked KitchenAid glass with confidence.
Selecting the Right Materials: Choosing Suitable Repair Kits
With an array of repair kits available in the market, selecting the appropriate materials is essential for achieving durable results. Factors such as adhesive strength, compatibility with glass surfaces, and ease of application must be carefully considered. By investing in high-quality products, we lay the groundwork for effective repair solutions.
DIY Solutions
Patching Up Small Cracks: Step-by-Step Repair Techniques
For minor cracks and surface imperfections, DIY repair techniques offer a cost-effective solution. From epoxy resins to specialized fillers, various materials can be employed to seamlessly mend the damaged glass. By following a systematic approach, we can restore the integrity of our KitchenAid cooktop with precision and finesse.
Filling in Larger Gaps: Advanced Repair Strategies
In cases of more extensive damage, advanced repair strategies may be required to address deep fissures and fractures. Techniques such as glass welding or professional-grade adhesives offer robust solutions for reinforcing weakened areas. By mastering these advanced methods, we can salvage even the most severely damaged glass surfaces.
Addressing Surface Imperfections: Polishing Techniques
Once the cracks have been filled and the structural integrity restored, attention turns to refining the surface finish. Polishing techniques such as sanding, buffing, and glass etching impart a smooth, lustrous appearance to the repaired area. By paying meticulous attention to detail, we can achieve a flawless finish that seamlessly blends with the surrounding glass.
Safety Measures
Precautionary Steps: Ensuring Safety During Repair Procedures
The pursuit of repair should never compromise our safety. Prioritizing precautionary measures such as wearing protective gear, maintaining a clean workspace, and adhering to safety guidelines minimizes the risk of accidents or injuries. By fostering a culture of safety, we safeguard both ourselves and our surroundings throughout the repair process.
Handling Glass with Care: Tips for Minimizing Risks
Glass, though fragile, demands careful handling to prevent further damage or breakage. Techniques such as supporting the glass from beneath, avoiding sudden movements, and using lifting aids mitigate the risk of mishaps during repair. By treating glass with the respect it deserves, we ensure a smooth and secure restoration process.

Preparation and Planning
Clearing the Workspace: Creating a Safe Repair Environment
Before commencing repairs, it is essential to prepare a conducive workspace free from clutter or distractions. Clearing the area of debris, ensuring adequate ventilation, and securing fragile items minimizes the risk of accidents and enhances focus. By setting the stage for success, we optimize our efficiency and precision throughout the repair process.
Planning Your Approach: Developing a Repair Strategy
Effective repair hinges on thoughtful planning and strategic execution. By outlining the steps involved, anticipating potential challenges, and allocating sufficient time and resources, we can navigate the repair process with confidence. A well-conceived strategy lays the groundwork for success, ensuring a seamless and efficient restoration.
Step-by-Step Repair Process
Cleaning the Surface: Preparing the Glass for Repair
The first step in the repair journey involves preparing the damaged glass surface for treatment. Thorough cleaning removes dirt, grease, and debris, ensuring optimal adhesion of repair materials. By starting with a clean canvas, we lay the foundation for a durable and long-lasting repair.
Applying Repair Solutions: Filling in Cracks and Chips
With the surface cleaned and prepped, it's time to address the cracks and chips that mar the glass surface. Applying specialized repair solutions such as epoxy resin or glass filler, we meticulously fill in the damaged areas, restoring structural integrity and visual appeal. By exercising precision and care, we achieve seamless integration with the surrounding glass.
Smoothing Out Imperfections: Sanding and Buffing Techniques
Once the repair materials have cured, attention turns to refining the surface texture and appearance. Sanding and buffing techniques smooth out any imperfections, imparting a flawless finish to the repaired glass. By patiently refining our workmanship,
Conclusion
Reflecting on the Journey: From Kitchen Disasters to Solutions
In the realm of kitchen maintenance, addressing cracked KitchenAid glass emerges as a pivotal endeavor, balancing aesthetics, safety, and functionality. By understanding the underlying causes, assessing the damage, and implementing appropriate repair techniques, homeowners can reclaim confidence in their culinary endeavors.
Embracing Confidence: Moving Forward with a Repaired KitchenAid Glass
As we bid farewell to kitchen mishaps and embrace the solutions presented herein, let us embark on a journey of culinary creativity and confidence. With Zip Appliance and Plumbing Repair by your side, restoring your KitchenAid glass cooktop to its former glory is not just a possibility—it's a promise.
For professional repair services and expert guidance, visit our website at www.ziprepairservice.com or contact us at (661) 387-2282. Your kitchen's transformation awaits!
